Removing an RV slide-out is a process that can be accomplished with a few simple tools and some elbow grease. In this article, I will outline the steps necessary to remove your RV slide-out, as well as provide some tips on how to make the process a little bit easier.
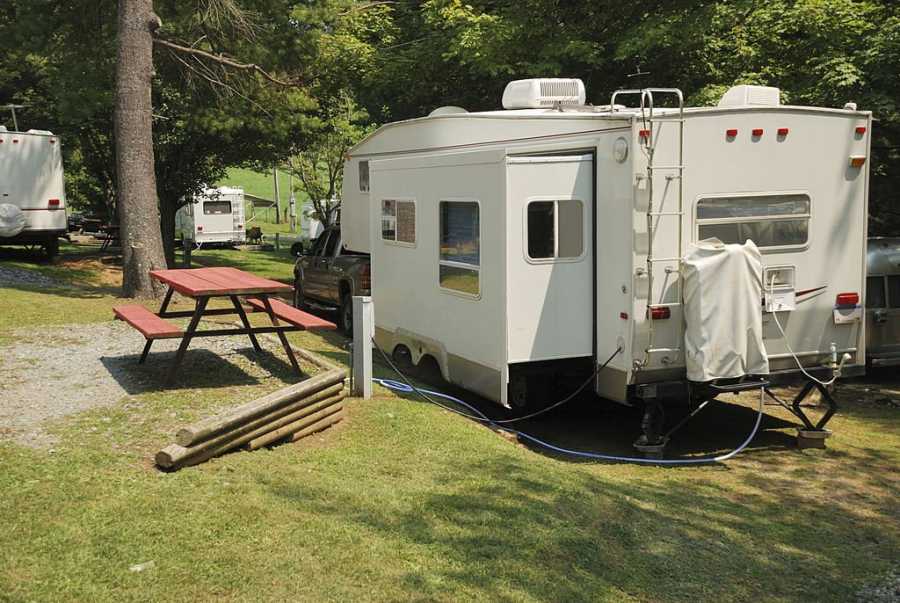
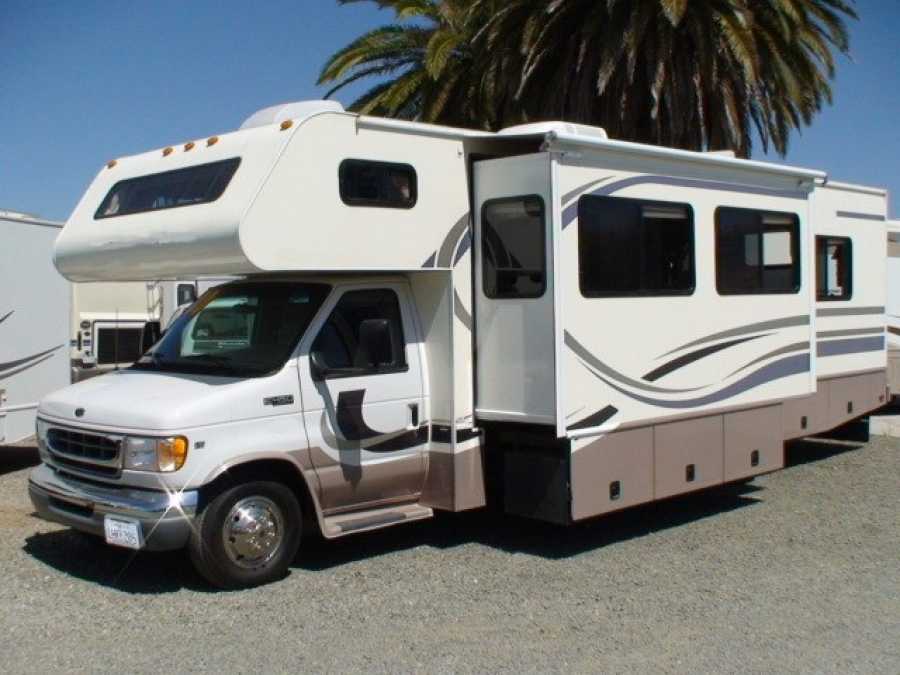
An RV slide-out is a built-in, extendable unit that fits into the sidewall of an RV. It’s designed and fully equipped with a back, two sides, and a top and bottom platform.
When the slide-out is deployed, it creates extra room for the RV. A hydraulic mechanism is used as a driver for the slide-out. An active rack-and-pinion mechanism is what drives other slide-outs. The process of removing both slide-outs is quite similar.
The first step to removing a slide-out is to remove the internal molding that enables the slide-out to move. But before you do this, ensure that the slide-out is extended to its maximum length.
The next step is to ensure that you provide support for the bottom part of the slide-out that is already extended to its maximum. You may use a shim block for this purpose as a safety measure.
The final step is to try releasing the slide-out from its fasteners, which hold the rams.
You might be wondering why removing an RV slide-out is important. I did, too, until a friend recently brought the subject matter to my attention; this made me come up with a compilation of how you can easily remove your RV slide-out without any hassle.
Table of Contents
What are RV slide-outs, and how do you remove them?

An RV slide-out is a section of the RV that can be extended out from the body of the RV. This extension creates more living and dining space inside the RV.
However, they can also be a source of frustration if they malfunction or need to be removed for storage. It’s crucial to maintain a sufficient level of oil in the hydraulic pistons that power the slide-out.
Even so, these slide-outs can fail for several reasons. Key among them is that they are prone to water damage, rot, wear, and separation.
Open seals also make up part of the reasons that would call for RV slide-out removal. They cause water intrusion, which can damage the RV’s whole subfloor if not inspected.
So, to cut the chances of incurring further damage on your RV’s slide-out, take this time to learn how to troubleshoot your RV slide-out.
Here are the steps on how to remove your RV slide-out from your travel trailer:
Step 1: Drive to a campsite.
The first thing to do is drive to a campsite with enough space and no obstructions. Get support beams and hoops to weld extra strength to the slide-out. Check for the rules and regulations for site selection and registration of your RV.
Step 2: Identify the slide-out internal molding
Start by identifying the slide-out internal molding that ensures the movement. In the manual model, it is known as “horseshoe” fitting. Electrical RV slide-outs come with motors beneath their rooms. Check your RV model manual for reference.
Step 3: Level the slide-out
Get the slide-out to its maximum to its level with the RV’s original floor. Use the support beams to hold the underside of the extended slide-outs. Also, ensure you have extensive support when the whole slide-out is out.
Step 4: Remove the fasteners
With the slide-out released, remove the fasteners from the holding rams. You will recognize the clamps as placing pins in front of the slide-out levers. That is the case for RVs using hydraulic or rack-and-pinion steering.
Step 5: Remove the RV slide out
You’re going to need some assistance to get the full slide-out free from the RV’s main body. Place it on the support beams, free from interference.
Some of the items needed to remove your RV slide-out swiftly and safely
Learning how to remove an RV slide-out is easier said than done. It’s a troublesome process and, to some extent, even dangerous.
However, the focus is that one time, you may have to remove your RV slide-out by yourself. While you might already be aware of the steps, it’s a good idea to know what’s necessary for the process to be swift and safe.
#1. Mechanical toolkit
A professional mechanical toolkit would come in handy in plenty of ways. It comes with an assortment of tools that offer variety and flexibility for the slide-out project.
An ideal kit should have a range of ratchets, sockets, drivers, and separate metric tools to work on enough nuts and screws. DEWALT Mechanics Tool Set would work just fine.
#2. Support beams: concrete blocks, cinder blocks
The utmost danger while learning how to remove your RV slide-out is the overall weight. On average, a slide-out is a large structure with a heavy load.
Not just any support beam would be enough to hold it for long, and cases of collapse are not that common.
For new RV owners, the first mistake is using unstable support beams such as a jack. Straight off, this is a bad idea.
But how do you know how much support is necessary for the RV slide-out?
Well, it’s pretty quick. Just lay out enough support beams that are more than equal to handle the weight of the slide-out.
#3 Assistance
The underside of learning how to remove your RV slide-out is that you can’t do it alone. The pressure is practically unbearable, and this puts you at odds to consider it a one-person job.
So, find someone who can help you out with the project. Better yet, get a couple of hands-on decks to ensure the removal process is more manageable.
Safety precautions when removing your RV slide-out

Besides the necessary tools and help to lift your RV slide-out, there are essential safety precautions to get it right.
Here are some of the steps to ensure you are on the safe side of the process.
1. Check your RV manual
As you already know, there are a lot of RV models, and manufacturers use different slide mechanisms. For example, running an electrical RV would present you with a separate process from what we have gone through.
As such, try to read the manufacturer’s manual for specific instructions on the slide-out model and assembly.
2. RV compartments
Also, note that learning how to remove an RV slide-out is not a straightforward, open process. This is especially the case when working with electrical RV models, which can be bothersome.
Manufacturers of these models would often block access to the slide-out release pins, placing them far behind RV components. Be sure to disconnect all these electrical components and turn them off.
You can also check the standard compliance resources for what your electrical production line has to offer.
3. Avoiding injury
The total weight of your RV slide-out makes the whole process much more dangerous. As a first step to preventing injury, do not overextend or retract the structure fully.
Doing the opposite would damage the slide-out mechanism.
Protecting your hands is also vital to keeping you free from potential damage. Get a reference on heavy gloves that meet the safety standards for workshop use.
Carhartt Men’s W.P. Waterproof Insulated Glove will work just fine for this purpose. However, you can check out other brands and retailers on Amazon that match your preferences.
Summary
Ultimately, RV slide-outs are a great feature to have in an RV, but they can also be a bit of a hassle to remove. If you’re ever in a situation where you need to take them out, make sure you follow the steps listed here to remove them safely and efficiently.
If you’re considering buying an RV with a slide-out or you’re wondering how to remove one from your current RV, be sure to keep this article in mind.

