
“Why is my RV slide-out leaking?” is a question many RVers often ask. And I assume you’re on this page because you have a similar question. Thankfully, I answered the question and everything else you need to know about the reasons why your RV slide-out is leaking in this article.
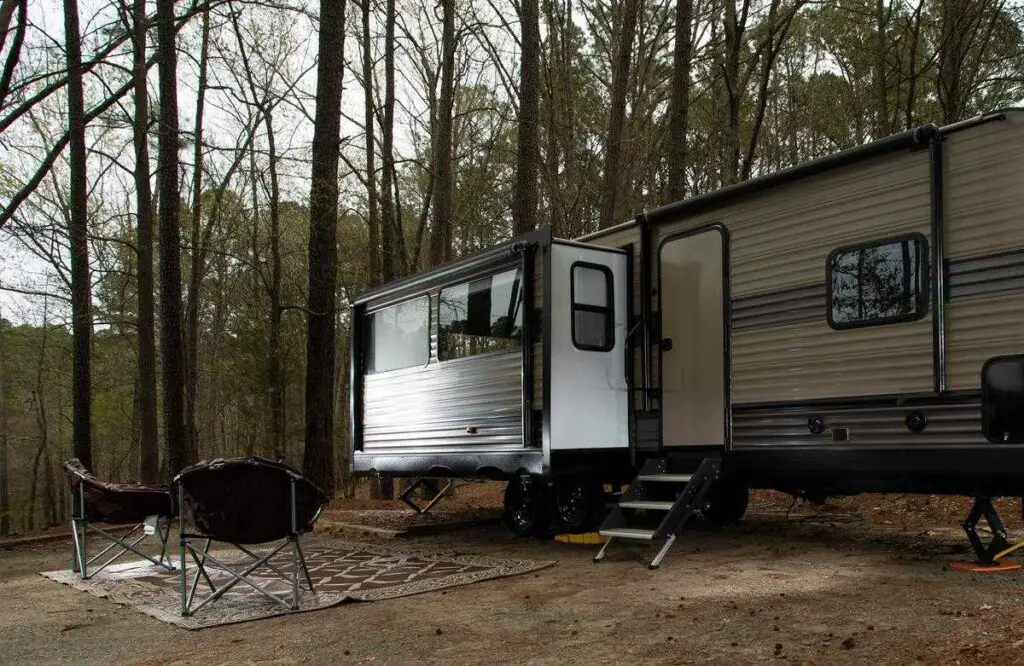
Ultimately, the intriguing world of recreational vehicles (RVs) and campers with slide-outs offers a unique lifestyle of adventure on the open road. However, these adventures may sometimes come with certain challenges, among the most common being the issue of leaks at the bottom corners of the slide-outs.
Such leaks, if left unchecked, can lead to costly damage and unwarranted interruptions on your journey of exploration.
So, understanding the causes and being able to perform regular inspections and maintenance. Implementing effective solutions to fix existing leaks and setting up preventive measures to avoid future leaks are all essential skills for any RV enthusiast.
This piece will serve as a guide to educate you on why your RV slide-out is leaking and also equip you with the necessary know-how to tackle such hurdles.
Table of Contents
Why is My RV Slide-Out Leaking?
Leaks can be a bit frustrating, but they’re often fixable. There are a few potential reasons why your RV slide-out might be leaking.
Generally, the leaks at the bottom corner of an RV’s or camper’s slide-out can be quite annoying and can lead to damage if left unchecked. One of the common factors responsible for this issue is the aging of seals.
As the sealant materials on your RV slide-out age, they tend to crack or peel, compromising the waterproof barrier that prevents water from infiltrating your RV. Regularly inspecting and maintaining these seals is crucial to preventing leaks.
Water pooling in your RV slide-out
In addition to aging seals, water pooling is another major culprit causing leaks in slide-outs. If there’s a flat spot on the top of the slide-out or poor drainage around it, water may pool and find its way through any weak points in the seals.
As an RV owner, you need to check for areas where water could collect on and around the slide-out after rain or washing and take steps to improve drainage.
Incorrect installation of slide-outs
An incorrect slide-out installation may lead to leaks. If the slide-out is not properly aligned or if there are gaps between the slide-out and the main body of the RV, water can seep in, especially during heavy rains or when the RV is washed.
To prevent this, ensure that the slide-out is installed correctly and that the gaskets are in their right position with no gaps.
Impact of improper sealing materials
The use of improper or low-quality sealing materials can result in water leaks in slide-outs. Not all sealing materials available in the market are suitable for an RV’s slide-out.
Certain materials may not have the waterproofing capabilities needed to protect your slide-out against water intrusion. It’s important to select a durable, high-quality sealing material approved for use on RVs.
Overall Dynamics of water leaks in RVs or Campers with slide-outs
Water leaks in RVs or Campers with slide-outs can be a common problem due to a variety of factors. The dynamics of these leaks typically involve water infiltrating through vulnerable points on the slide-out.
Most often through aged seals or improper installations. Having a solid understanding of these dynamics can aid in diagnosing potential problems and implementing effective solutions.
Regular maintenance, proper installation, and high-quality sealing materials can go a long way in preventing these leaks in your slide-out.
Slide Out Seal Inspection and Maintenance
Regular inspection and maintenance of your RV slide-out seals can help prevent leaks and extend their lifespan. Start by checking for any visible signs of wear, damage, or age, such as cracks, tears, or gaps in the seal.
Pay close attention to areas where the seal meets the walls, as these are more susceptible to leaks.
To maintain your slide-out seals, clean them regularly with soapy water and a soft brush. This will remove dirt and grime that can cause deterioration over time.
Additionally, make sure to apply a silicone-based rubber protectant after cleaning, as it will keep the seals supple and pliable.
By regularly inspecting and maintaining your slide-out seals, you can prevent costly repairs down the line and ensure that your RV remains watertight during travel or storage.
So if you’ve been wondering why your RV slide-out is leaking, don’t forget to give those seals some extra attention!
Understanding and Identifying Slide-Out Seals and the Types of Sealants Used
Slide-out seals, also known as gaskets, are crucial to keeping your recreational vehicle (RV) leak-free. They create a barrier that prevents water, dust, and pests from getting in when your RV’s slide-out is extended or retracted.
Usually, slide-out seals are made from rubber and can be found around the perimeter of the slide-out.
There are many types of sealants used for maintaining slide-out seals, and you need to choose one that is suitable for rubber materials and outdoor exposure.
Silicone-based sealants are commonly used due to their flexibility, waterproof properties, and resistance to ultraviolet radiation.
Other alternatives include rubber seal conditioners and protectants, which maintain flexibility and extend the life of your seals.
Steps on How to Inspect Your Slide Out Seals
-
Extend your slide-out and visually inspect the seals. They should have a uniform appearance without any cracks or tears. They shouldn’t be sticky or overly dry, and there should be no areas where the seals are coming detached from the RV.
-
Check the tightness of the seal. When your slide-out is extended or retracted, the seals should make firm contact all around without any gaps.
-
Thoroughly inspect the bottom corners, as these areas are most prone to leaks. Any sign of discoloration or dampness around the inside corners can indicate a water leak.
Cleaning and Resealing Techniques for Slide-Out Seals
Over time, dirt and grime can accumulate on the surface of the seals, which can cause them to degrade. Therefore, regular cleaning is essential. Using a mild cleaning agent and a soft cloth, gently clean the seals and the surrounding areas.
Avoid using harsh chemicals, as they can cause the seals to deteriorate.
After cleaning, if you identify any minor cracks or areas where the seal is not adhering well during the inspection, these areas can be resealed.
Apply a thin bead of your chosen sealant to the required area and smooth it out with a finger, ensuring it fully covers the gap or cracks.
Maintenance Interval for Slide-Out Seals
It’s recommended to inspect your RV slide-out seals at least two to four times per year and after any extended RV trips. However, depending on the climatic conditions and operational demands, more frequent checks might be necessary.
In terms of resealing, it largely depends on the condition of the seals. Should you notice any deterioration during your inspections, immediate resealing is required.
Regular cleaning can be done as part of your monthly RV maintenance or as often as necessary to keep your seals in optimal condition.
Implementing Solutions to Fix the Leak
Addressing a leak in your RV slide-out requires a strategic approach. Below are some steps to take to fix the leaks and restore the comfort of your RV.
Step 1: Identifying the source of the leak
The first course of action is to examine your RV slide-out to figure out the exact location of the leak. Identifying the source is crucial for applying the correct solution.
Step 2: Inspect and clean the slide out
Inspection and cleaning are often overlooked steps in leak prevention. Look for trapped debris, torn corners, or weather strip damage that could lead to leaks.
Once you’ve identified any physical issues, clean the area carefully using a brush or sponge. Be sure to remove all dirt, dust, and debris, as these can prevent seals from working effectively.
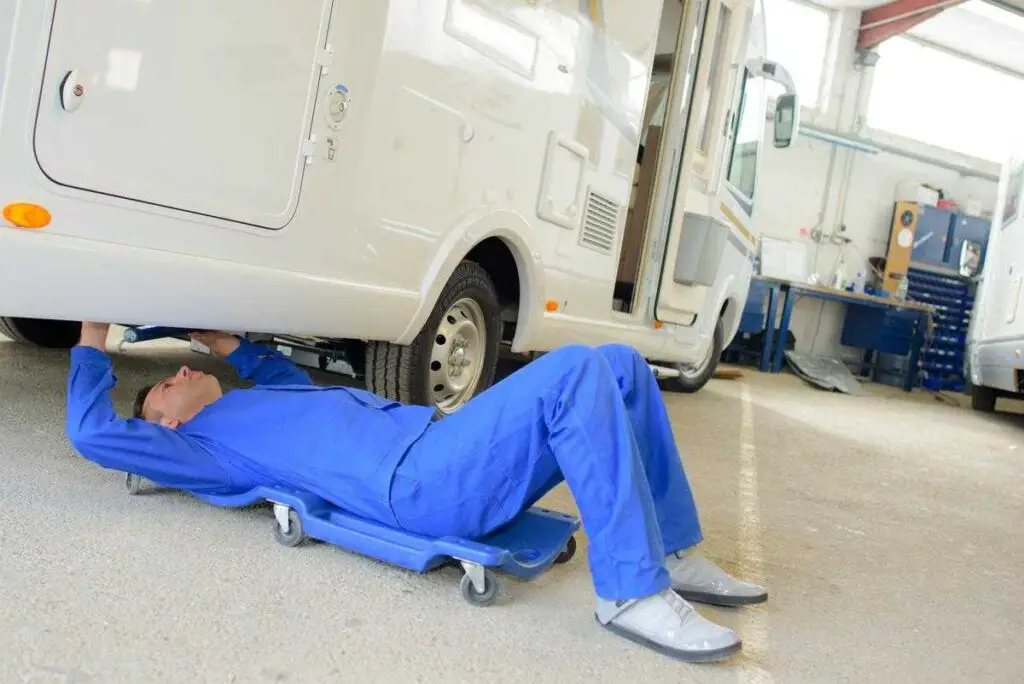
Step 3: Slide-Out Adjustment
Sometimes the slide-out might not have been installed properly or could be misaligned due to frequent usage, causing the leak. However, you can contact a professional RV technician to perform an adjustment or realignment of your RV slide-out.
The technician will ensure your RV slide-out is at its perfect level and prevent leakage in the future.
Step 4: Replacing sealants
One of the primary reasons for a slide-out leaking at the bottom corner is the degradation of sealant over time. These sealants can be replaced or supplemented with a quality, UV-resistant exterior-grade sealant.
However, you should ensure the sealant is applied to a thoroughly cleaned and dried surface, following the manufacturer’s instructions.
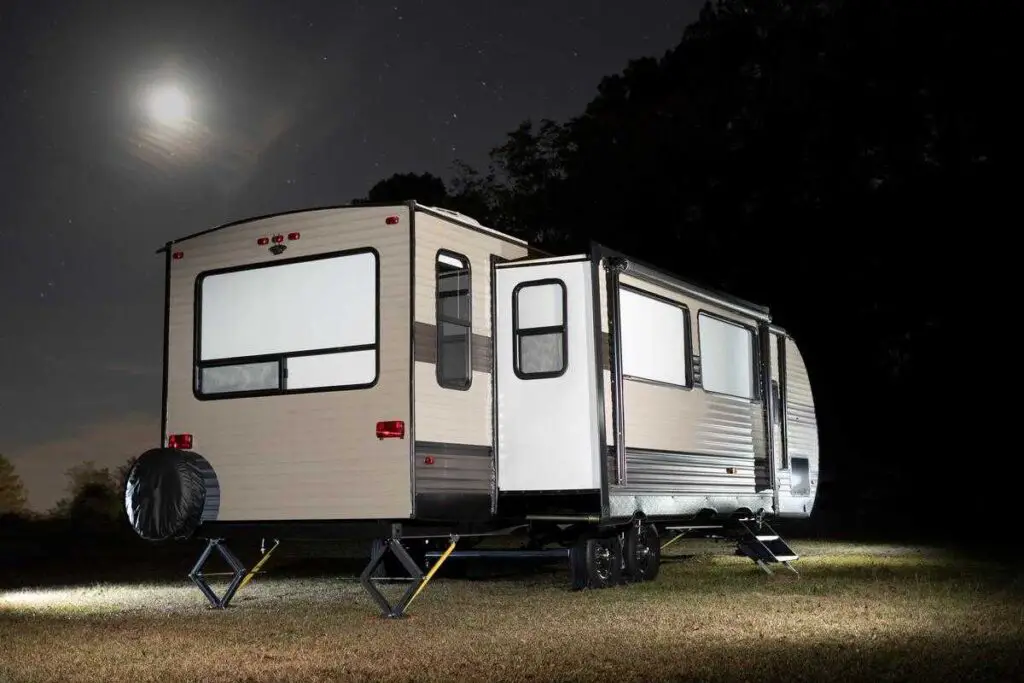
Step 5: Adding Slide Toppers
Adding slide toppers can protect your slide-out from the elements, prevent debris buildup, and significantly reduce the chance of leaks. These awning-like attachments expand and retract with your slide-out, proving to be an effective barrier against leaks.
Preventive Maintenance
Regular maintenance of your RV slide-out is crucial to preventing leaks. Regularly check and clean slide-out roofs, seals, and wiper seals, and look out for any torn or damaged areas.
Apply a rubber seal conditioner to keep seals supple and effective.
Each of the aforementioned steps should help you successfully handle and prevent leaks in your RV’s slide-out corners. It’s important to note that not all leaks can be solved with one solution.
Consistent monitoring and preventive measures can avoid serious damage over time.
Techniques for Preventing Your RV Slide-Out from Leaking
Keep your RV adventures worry-free by mastering water leak prevention. From regular slide-out inspections to weatherproofing techniques, below are essential techniques to fortify your motorhome against unwanted leaks.
Regular Maintenance Schedules
Sometimes you might be wondering why your RV slide-out is leaking without knowing that you may be contributing to the problem. When you don’t maintain your RV, things like this may occur.
In other words, adhering to a regular maintenance schedule is vital to preventing your RV slide-out from leaking. These maintenance checks include inspecting the seals, slide-out cover, and overall slide-out system functionality.
Ideally, a thorough inspection should occur at least every three months. At times of heavy usage or during severe weather conditions, more frequent checks may be required.
Recognizing Early Signs of Potential Leaks
Keeping an eye out for early signs of potential leaks can save you time and money in the long run. Often, preventing a leak is easier than fixing one. Things to look out for include:
- Stains or discoloration on your RV’s interior or exterior walls
- Rust spots on the chassis
- Damp, soft spots on the flooring near the slide-out
- Unusual smells inside the RV, particularly a musty odor.
- Distortions on the walls or surfaces of the RV close to the slide-out
Catch these signs early, and you can mitigate most water leak issues before they cause serious damage.
Use of Weatherproofing Materials
Using the right weatherproofing materials is a significant factor in preventing your RV slide-out from leaking. These materials include special sealants, gaskets, and slide-out awnings.
- Sealants: Use a high-quality, weather-resistant sealant that can withstand extreme temperatures and conditions. Sealants degrade over time, making regular inspection and resealing necessary.
- Gaskets: You should replace damaged or worn-out gaskets with top-notch rubber gaskets that ensure a tight seal when the slide-out is extended or retracted.
- Slide-out Awnings: A good-quality, well-fitted slide-out awning is a valuable guard against water leaks as it deflects rain, leaves, and other forms of precipitation that may wear down your seals over time.
Making regular preventive measures a part of your RV ownership routine can save you significant time, money, and stress by avoiding unfortunate water leaks in the future.
By staying vigilant, conducting regular maintenance, and using top-quality weatherproofing materials, you ensure your slide-out corner stays leak-free, giving you peace of mind as you travel.
Summary
By now, I hope you’ve learned why your RV slide-out is leaking. Maintaining a leak-free RV guarantees not only the longevity of your vehicle’s life but also seamless and pleasant adventures.
Grasping the mechanics of slide-out leaks, from their causes to their remedies, is certainly an asset for all RV or camper enthusiasts.
I hope this piece on RV slide-out leaks serves as a beacon, guiding you to become skilled in managing and preventing such issues. Finally, adhering to the maintenance and preventative care shared here will help enlighten and aid you in ensuring that your journeys are free from the distracting and costly nuisance of leaks.
